
Views: 0 Author: Site Editor Publish Time: 2025-07-17 Origin: Site
You can see the key differences between vacuum forming and pressure forming. These differences show up in cost, how many parts you make, and how good the parts are. The table below highlights what makes each thermoforming method special:
| Aspect | Vacuum Forming | Pressure Forming |
|---|---|---|
| Cost | Cheapest way to shape plastic | Costs more at first than vacuum forming |
| Production Volume | Best for making a small number of parts | Good for making lots of parts |
| Quality | Not as detailed, edges are rounded | Very detailed, with sharp edges and corners |
Understanding these key differences helps you pick the best thermoforming method. If you need parts with sharp edges, use pressure forming. Vacuum forming is better for simple shapes with less detail.
Vacuum forming is the cheapest method for making simple plastic parts. It works best for small batches and basic shapes.
Pressure forming costs more but produces high-quality parts with sharp edges and fine details. It is ideal for complex shapes.
Choose vacuum forming for quick projects and low budgets. Use pressure forming when you need detailed and professional-looking parts.
Consider the number of parts you need. Vacuum forming is great for fewer than 3,000 parts, while pressure forming is better for larger quantities.
Select the right plastic based on your part's needs. Think about strength, clarity, and how the part will be used.
It is important to know the key differences between pressure and vacuum forming. This helps you pick the right one for your project. Both processes shape plastic sheets, but they do not use the same tools or steps.
Vacuum forming uses a vacuum to pull a hot plastic sheet over a mold. The vacuum takes away the air, so the sheet sticks to the mold. You get detail on just one side. This method is good for simple shapes and big parts.
Pressure forming uses compressed air along with a vacuum. After heating the plastic, you press it to the mold with both vacuum and air pressure. This gives sharper edges and more detail. You can make shapes that are complex and have textures.
| Process | How It Works | Complexity | Quality |
|---|---|---|---|
| Vacuum Forming | Uses vacuum to pull sheet over mold | Simple | Good for basic shapes |
| Pressure Forming | Uses vacuum plus compressed air for detail | More advanced | Excellent for sharp edges and textures |
You can see the main differences in how each process works. Vacuum forming is a fast and cheap way to make custom parts. Pressure forming gives more detail and better quality, but it needs more tools and skill.
There are key differences in how pressure and vacuum forming are used. Each method is best for certain products and industries.
Vacuum forming makes parts that are light and strong. You see it in gym equipment and car parts. It is also used for seed trays, greenhouse panels, TV cases, computer cases, speaker boxes, phone and tablet cases, router cases, medical trays, covers for medical tools, throw-away medical items, fridge trays, crisper drawers, bathtubs, shower walls, plastic kitchen tools, special packaging, store displays, and signs.
Pressure forming makes parts with more detail and texture. It is used for hard shapes in medical tools, control panels, and home appliances. It works for medical trays, blister packs, fridge parts, washing machine parts, garden tools, food boxes, vehicle parts, and body panels.
Tip: Use vacuum forming for big, simple parts that need to last. Pick pressure forming if you want sharp edges, fine textures, or tricky shapes.
You can see the main differences in cost, how hard it is, and quality. Vacuum forming is best for simple shapes and small budgets. Pressure forming is better for jobs that need lots of detail and a pro look. You should choose based on what the part needs, how much detail you want, and how many you need to make.
The key differences between pressure and vacuum forming help you pick the best thermoforming process for your needs.
You can learn how vacuum forming works by following these easy steps. This process shapes plastic sheets into useful things. Here is what you do:
Hold the plastic sheet in place with a clamp.
Heat the sheet until it gets soft and bends easily.
Use auto-level to keep the sheet flat so it does not sag.
Make a bubble to stretch the sheet for even thickness.
Use a plug assist if you want the plastic to spread out evenly.
Pull the sheet over the mold with a vacuum. The vacuum takes away air so the plastic fits the mold shape.
Cool the plastic so it keeps its new shape.
Take the part off the mold.
Cut and finish the edges to make them smooth.
These steps show how vacuum forming makes parts quickly and with good accuracy.
You need the right machines for vacuum forming. The machine you pick depends on how big your project is.
| Equipment Type | Description |
|---|---|
| Industrial vacuum forming machines | These are best for making big parts in factories. |
| Mid-size vacuum forming machines | These work well for small or medium parts. They fit in most workshops. |
| Tabletop vacuum forming machines | These are good for small businesses or home use. You can use a normal vacuum cleaner. |
| DIY vacuum forming machines | These are great for learning or school projects. You can build your own machine. |
All these machines use vacuum to shape the plastic. You pick the size and type based on your job.
Vacuum forming is used for many things. You see it in factories and at home. Here are some common uses:
Car panels and inside car parts
Medical device covers and trays
Packaging and store displays
Covers for machines
Cases for things people use
| Material | Applications |
|---|---|
| HIPS | Used for throw-away trays |
| PETG | Used for medical trays and device cases |
| Polyethylene | Used for things you can use again and that are tough |
| Polycarbonate | Used for cockpit panels and medical covers |
| ABS | Used for strong parts that hold things together |
Vacuum forming is a fast and cheap way to make simple or big parts. You get strong and light products with this process.
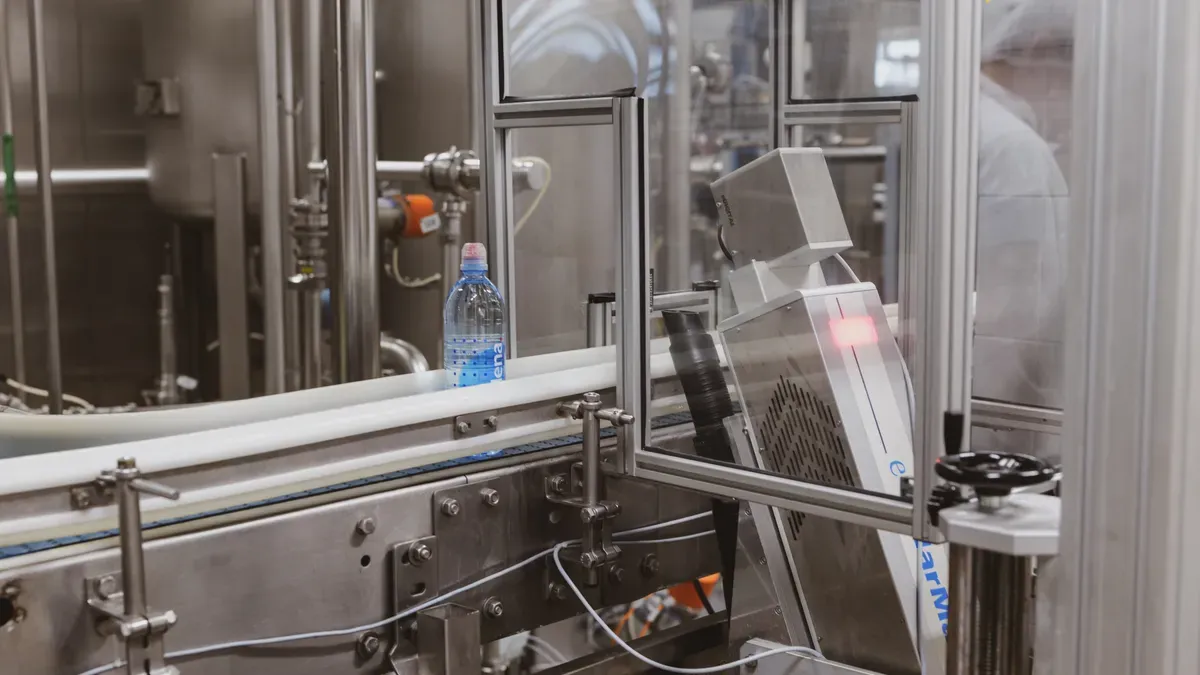
Pressure forming helps you make parts with sharp edges and lots of detail. First, you clamp a plastic sheet between two strong platens. Then, you heat the sheet until it gets soft. Next, you use compressed air and a vacuum to press the sheet onto the mold. This step gives more detail than other ways of shaping plastic. The part cools down fast, so you can take it off the mold and trim the edges. Each time you do this, you get the same good results.
How pressure forming works:
Clamp the plastic sheet between platens.
Heat the sheet until it softens.
Use vacuum and compressed air to press the sheet onto the mold.
Cool the part quickly.
Take off the finished part and trim the edges.
Tip: Pressure forming lets you make tricky shapes and fine textures. It is a good way to get parts that look professional.
You need special machines for pressure forming. These machines have strong platens to hold the plastic sheet tight. Heating elements with zone control help heat the sheet evenly. An air flow system cools the parts based on the room. Cycling systems repeat each step fast for making many parts. Extra machines like trimmers and routers help finish the parts.
| Equipment Type | Description |
|---|---|
| Top and Bottom Platens | Strong platens hold the sheet with lots of force. |
| Top Screening Heating Elements | Zone control heats certain spots for better results. |
| Air Flow System | Adjustable airflow cools the parts for the best finish. |
| Cycling Systems | These repeat each step quickly and accurately. |
| Secondary Operations | Trimming and routing machines make the parts look neat. |
These machines help you make parts with sharp edges and lots of detail. The equipment lets you control the pressure and shaping for the same good quality every time.
Pressure forming is used in many jobs and products. You can make packaging for things people buy and for medical items. Device covers, trays, and dental products are made this way. Car parts like dash panels use pressure forming because they last long. Aerospace uses it for drone cases and light covers. Industrial covers and containers keep equipment safe. Medical device covers and food service parts are also made with pressure forming. Railcar insides, kiosks, ATMs, and construction vehicle panels use this method for strong, detailed parts.
| Application Type | Examples |
|---|---|
| Packaging | Strong packaging for things people buy and for medicine |
| Consumer products | Covers, trays, and packaging |
| Dental | Tooth aligners and mouthguards |
| Automotive | Dash panels and inside car parts |
| Aerospace | Drone cases and light covers |
| Industrial | Big covers and containers |
| Medical devices | Covers for medical equipment |
| Food service | Parts for food service |
| Transportation | Railcar trim, panels, and seats |
| Kiosks and ATMs | Front panels and covers |
| Construction vehicles | Outside and inside covers and panels |
| Blister packaging | Used for things people buy |
| Eyeglasses | Strong and bendy frames |
| Industrial construction | Insulation and light materials |
Note: Pressure forming makes parts with sharp edges, fine textures, and strong strength. Pick this method if you need parts with lots of detail and high quality.
There are many plastics you can use for vacuum forming. Each plastic has special features that help you make the right part. Here are some plastics you might pick:
ABS: This plastic is tough and lasts a long time.
Acrylic: It is very clear and stands up to weather.
Polycarbonate: This plastic is very strong and hard to break.
PETG: It is clear and does not get damaged by chemicals.
PVC: This plastic is useful for many things and does not cost much.
TPO: It bends easily and does not get ruined by sunlight.
These plastics work well for vacuum forming because they get soft and shape easily. You can use vacuum forming to make parts that are strong, light, or clear for many jobs.
Pressure forming lets you use plastics that need more detail and strength. Here are some plastics you can use:
Acrylic (PMMA): This plastic is clear, strong, and does not get hurt by chemicals.
ABS: It is strong, hard to break, and stands up to heat.
High Impact Polystyrene (HIPS): This plastic is steady, cheap, and tough.
PETG: It is hard, does not get damaged by chemicals, and bends without breaking.
PVC: This plastic is strong, stiff, and does not catch fire easily.
HDPE: It is very dense and does not crack under stress.
TPO: This plastic has many good features.
Pressure forming uses both vacuum and pressure to shape these plastics. You can make parts with sharp edges, nice textures, and strong finishes.
You should think about a few things before you pick a plastic for vacuum forming or pressure forming:
Thermal formability: Pick plastics that get soft and shape without getting too thin.
Impact resistance: Choose plastics that do not break when dropped or hit.
Chemical resistance: Use plastics that do not get ruined by strong cleaners or chemicals.
Transparency: If you want clear parts, pick plastics that let light through well.
Flame retardancy: For planes or trains, use plastics that do not burn easily.
Strength: Make sure the plastic is strong enough for your part.
Appearance: Pick a plastic that looks good for your finished part.
Tip: Pick the plastic that fits your part’s needs. Think about how you will use the part, how it should look, and how strong it must be. This helps you get the best results from vacuum forming or pressure forming.
Vacuum forming has many good points. It is a cheap way to make parts. This is great if you do not need many parts. You can get your parts fast because the tools are quick to make. You can also try out new designs easily. Vacuum forming works best for simple shapes and thin walls. The tools cost between $500 and $5,000, so it is good for small budgets.
But there are some problems too. The wall thickness might not be the same everywhere. It is hard to make parts with tricky shapes. Deep parts that curve in are tough to make. Sometimes, the walls are not even. Vacuum forming is not the best choice if you need lots of parts.
Benefits:
Cheap for small batches
Fast to make tools and parts
Easy to change designs
Works well for simple shapes
Drawbacks:
Walls may not be even
Not good for tricky shapes
Not best for making many parts
Pressure forming makes parts with sharp edges and lots of detail. The surface looks smooth and nice. You can make parts with special shapes. This way is good for small or medium amounts of parts. The tools are quick to set up and you can use them for different jobs. Pressure forming gives you high-quality parts and can make tricky shapes.
| Aspect | Advantages | Limitations |
|---|---|---|
| Cost | Tools are faster and cheaper to make | Tools cost more at first |
| Speed | Parts are ready quickly | Each part does not cost much less |
| Quality | Parts look great with sharp details | Need to plan for undercuts |
You have to plan your design well to avoid problems with undercuts. The tools cost more at the start, but you get parts that look and fit very well.
Vacuum forming is faster and cheaper for small or medium jobs. It is also good for testing new ideas. You get your parts quickly and save money on tools. Pressure forming is better if you want lots of detail and sharp textures. It gives you parts that are very exact. Vacuum forming can be off by about ±0.030" to ±0.060". If you need parts that fit better, use pressure forming.
Different jobs need different ways. Vacuum forming is used for big, light parts in cars, planes, and medical things. It is also good for packaging and things that must be cheap. Pressure forming is best for parts that need lots of detail and special shapes.
Tip: Use vacuum forming for big, simple parts or when you need parts fast. Pick pressure forming if you want sharp edges, fine details, and a pro look.
You should think about a few things before picking a thermoforming process. The best choice depends on what your project needs. Use this table to see how vacuum forming and pressure forming compare:
| Criteria | Vacuum Forming | Pressure Forming |
|---|---|---|
| Cost | Usually costs less | Costs more because it is harder |
| Detail and Texture | Good for parts that do not need much detail | Great for parts that need lots of detail |
| Applications | Works for many different jobs | Best for parts that must fit very well |
| Speed | Makes simple parts quickly | Slower because it uses extra pressure |
Vacuum forming is a good choice if you want to save money and make simple parts. Pressure forming is better for sharp edges and fine textures. You should also think about how many parts you need. If you need fewer than 3,000 parts, vacuum forming can save money. If you need more than 5,000 parts, other ways may cost less over time.
Tip: Think about the shape, size, and detail of your part. Also, think about how fast you need it and how much you can spend.
Vacuum forming is used for many jobs. It shapes plastic sheets with heat and vacuum. You see it in packaging, trays, and covers for machines. This method is good for simple shapes and quick jobs.
Pressure forming uses vacuum and extra pressure. It makes parts with sharp lines and lots of detail. You find it in control panels, medical device covers, and parts that must look nice.
If you want a simple tray or a cover for a tool, vacuum forming is a smart choice.
If you need a control panel with fine details, pressure forming is best.
For small batches, vacuum forming keeps costs low.
For parts that must fit tightly or have special textures, pressure forming works better.
Thermoforming gives you options. Pick the process that fits your part’s needs, your budget, and your timeline.
You can find the main differences between vacuum forming and pressure forming in this table:
| Feature | Vacuum Forming | Pressure Forming |
|---|---|---|
| Cost | Costs less | Costs more |
| Detail and Accuracy | Makes basic shapes | Makes sharp, detailed parts |
| Applications | Used for simple parts | Used for tricky, exact parts |
To pick the best thermoforming method, follow these steps: First, think about how you will use the part. Next, decide how much detail and finish you want. Then, choose a material that works well where the part will be used. Last, make sure your choice fits your budget and works well.
Always look at the part’s design, the material, and how you will use it before you decide.
Vacuum forming is good for simple shapes. Pressure forming makes parts with sharp edges and fine details. Pressure forming uses both vacuum and air pressure. Vacuum forming only uses vacuum.
You cannot always use the same molds. Pressure forming needs stronger molds because it uses more pressure. Vacuum forming molds are simpler and cost less.
Vacuum forming is usually faster. You can set up quickly and finish simple shapes fast. Pressure forming takes more time because it has extra steps and needs stronger machines.
Think about how you will use the part, how strong it needs to be, and how it should look. Some plastics work better for vacuum forming. Others are good for pressure forming. Make sure the plastic can shape easily and stay strong.
Tip: Ask your supplier for samples of materials before you pick one.


